This is Part 3 in a series on the phases of collectible game design. Here is Part 1 and Part 2.
If the core engine design is laying the foundation of your game “house,” core engine development is the framing upon which everything else will hang. At the end of this phase, your collectible game should basically “work” with a limited set of components. The game should be fun and meet your design parameters, though it will not be balanced or polished.
Here are some key areas of focus during Core Engine Development.
1. Define Fundamental Components
Build the Basics
Your goal in this phase is not to design all the components of your game! You will, however, need to have at least some of your components in place to properly develop the engine.
In a fighting game, have at least 3-4 characters with relatively defined traits. In a trading card game, have 2-3 pre-built decks to test with. The key is a small number of permutations that highlight a few of the strategies available in your game.
You do not need to worry about the strategies being fully fleshed out or balanced. You can include a few things that push the boundaries of the engine (i.e. very wacky effects and extremes of power level), but for the most part you just want nuts and bolts effects at this stage. Too many wacky components can make it harder to see what is going on at the fundamental engine level.
Outline Collection Requirements
When determining components for a collectible game, you need to decide how many a player needs to play. Do you need 3 miniatures, 60 cards, or one Champion? Think about what the player experience will be like when they have a small collection vs. a large collection. Is it still fun to play when you don’t have a lot of options? Is it still exciting to collect after you already have a few? You can drive this excitement by ensuring your engine supports a variety of strategies and synergies between different subsets of the total available collection.
Target Collection Variation in Game
In addition to determining how many components a player needs to play the game, you should also think about how many components show up in a given game.
If you always have all your components available each game (e.g. A miniatures game where all the figures start on the board), then games will tend to play out more similarly during repeat play.[note] this is why miniatures games typically add some other form of randomization into gameplay like dice rolling [/note] If you have too few components show up in a game (e.g. Drawing only 7 cards from a 60 card deck) then players may not feel enough agency in their customization.[note] In this type of game, you may want very little randomization during play, or to give players more selection over which cards they have access to [/note] There is no objectively right or wrong answer here. Play around with these numbers to find the balance between variance and predictability appropriate for your game and audience.
2. Define Game Rules
By the time you leave this phase, you should be able to write up the rules for your game (though they may still change). How do units move? At what rate do players draw cards? What are the rules for line of site and stun effects? How can players transfer one game resource into another? Try out a variety of answers to these questions in this phase as you iterate. By iterating on a variety of possible complete rule sets, you can see how your fundamental components interact with those rules to make a game that is fun and not completely broken.
Write Things Down!

I cannot stress enough the importance of writing things down during this phase. Writing things down has a few advantages. Most importantly, it prevents you from forgetting the work you’ve done.
Written rules also make collaboration with other designers and playtesters much easier. The sooner you can get people testing your game from written rules, the better your rules will be at the end of the process.
Old written down rules are also a great tool for writing design articles and talking about your process after the game releases. Writing down rules early makes everything better in the long run. If you take one lesson from this article, make it this one.
Use Rejected Rules to Aid Design Later
Almost every rejected rule during your iteration process can assist you in your design down the road. Collectible game design is all about using your components to break the engine rules. In Solforge, for example, creatures originally only attacked during a player’s turn. For a variety of reasons, the game ended up working better when creatures attacked on both players’ turns. However, we designed multiple cards that don’t attack during the opponents turn, because we knew the advantages of that system from earlier testing.
3. Create Proper Incentives

Fundamentally, what does the player want to do when playing your game? What behaviors does the core play loop encourage? If players are systemically avoiding interacting with each other in a board game, your core loop may have a problem. Game incentives should generally reward people for doing things that are natural and fun, with more layers of options being revealed over time. Watch player behavior and see how your core game loop pushes them to behave.
Make Player Instincts Correct
Try and make a player’s natural instincts be (most of the time) the correct thing to do. If players of your game are constantly taking a certain course of action, embrace it.
In my deckbuilding game, Ascension, most casual players immediately started buying heavy infantry cards in order to attack monsters. The original game engine made this almost a sure-fire losing strategy against a player who first bought cards to improve their deck.
After many playtest sessions, I rebalanced the engine to make an early monster attack strategy viable. This took me a long time to figure out because my personal instinct was always to improve my deck first and then defeat monsters. Keep an eye out for when your personal playstyle doesn’t match that of your average player.
Times 2 or Divided by 2
When in doubt, double it or cut it in half. Since developing a game engine requires you to set your number ranges, experiment in big chunks to learn more quickly. If a system is not working right, try doubling the numbers to push it more or cut numbers in half to reduce the importance.
These new numbers likely won’t be exactly right, but they will inform you if you are moving in the right direction far more quickly than making many subtle changes along the way (there is time for that later). Solforge creatures were originally on a much smaller scale than they are now, but we found that creatures all felt too similar. We doubled the range of numbers for attack and defense (and quadrupled player health) and that gave us far more room to design cards that felt different from each other. Experiment with radical shifts to help shake things up and break your preconceived notions of how the game “should” go.
4. Find the Fun
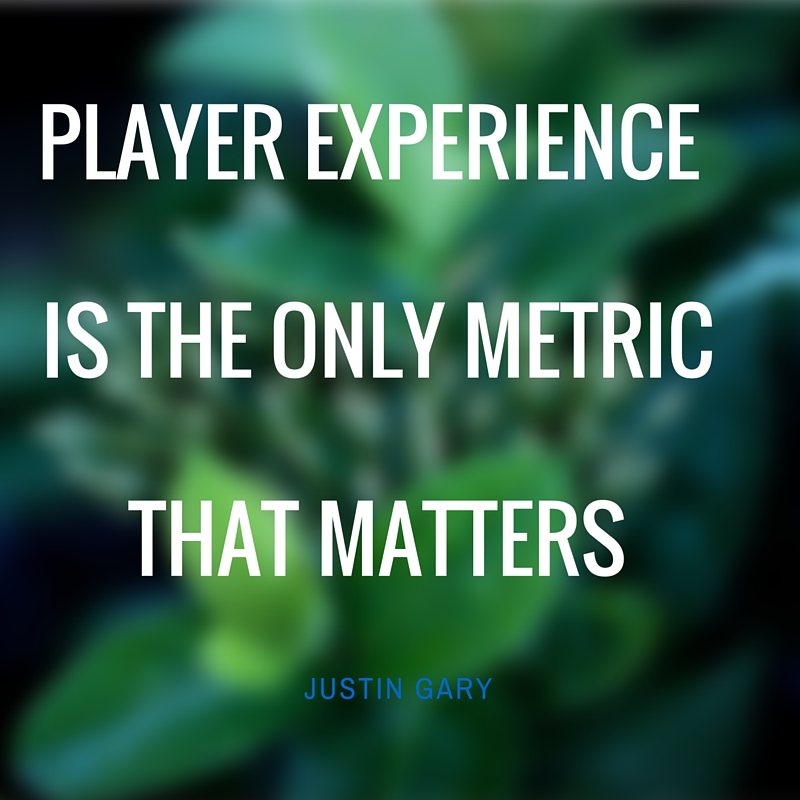
It is easy to get lost in the minutiae of mechanics, but player experience is the only metric that matters. Does the game evoke the feelings you are generally looking for? Is the game length approximately where you want it to be? Are you staying true to your initial vision or has your vision changed?
Ideally, when you leave this phase, the fundamentals of your game are relatively stable. If you aren’t happy with the feel of the game (knowing that things like balance and polish are still to come), now is the time to try and fix any issues that arise. You can shore up problems with good component design and development, but the engine level decisions will have long reaching impacts for the life of your game, so take the time to get this part right.
In my experience, it takes several months to get the Core Engine Design and Development for a collectible game to a place that you are ready to move. Rushing through this phase will only cost you more time and headaches down the road, so take the time and do it right. Once your game feels right, you are ready for the next step of component design.